You’ve got your gloves. You’ve got your bag. But five minutes into your first real session, your wrist feels wobbly, your knuckles ache after a handful of jabs, and you realize something’s missing. That something is almost always the hand wrap, the unglamorous strip of fabric that quietly does most of the work your gloves get credit for.
This guide covers how to wrap your hands for boxing step by step, what you actually need to buy, the difference between wrap lengths, and the small mistakes that turn a good wrap into a useless one. By the end, you’ll be able to wrap your hands correctly every single time, without needing a video paused every ten seconds.
The Problem: Gloves Alone Aren’t Enough
Boxing gloves look like they do all the protecting, but they’re mostly built to cushion the outside of a punch, softening impact for whoever you’re hitting. What they don’t do well is stabilize the twenty-seven small, delicate bones inside your own hand, or support a wrist that’s about to absorb repeated shock at awkward angles.
That’s the gap hand wraps fill. Without them, even light bag work can lead to sore knuckles, bruised metacarpals, or a sprained wrist, injuries that are common enough in boxing gyms to have their own nickname: “boxer’s fracture.” Skip the wrap, and you’re punching with your bones doing a job that fabric and technique should be sharing.
The trouble is that most beginners either skip wraps entirely, thinking they’re optional gear for advanced fighters, or wrap so loosely (or so tightly) that the wrap does almost nothing. Getting this right matters before you ever throw your first real punch.
What Do You Need to Wrap Your Hands for Boxing?
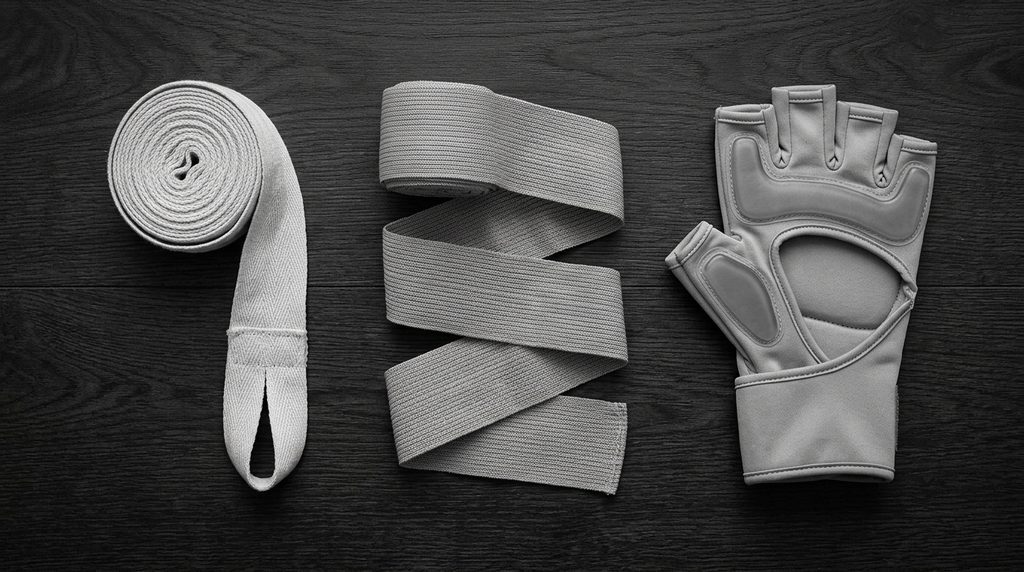
The short answer: a pair of hand wraps, and that’s genuinely it. No tools, no tape, no assistance required for training wraps. Here’s what you’re choosing between:
- Traditional cotton wraps (non-stretch): The industry standard. Thick, durable, and builds solid padding over the knuckles, though it takes a bit more precision to apply well.
- Mexican-style wraps: Cotton woven with elastic fibers, so they mold to the hand more easily. Comfortable for training, though the elastic wears out faster than plain cotton.
- Gel or “quick” wraps: Slip on like a fingerless glove. Fast and convenient, but they offer noticeably less wrist support and aren’t favored by serious boxers for that reason.
- Competition (gauze and tape) wraps: Used only in sanctioned bouts, under strict regulations on exact gauze and tape amounts. Not reusable, and typically applied by a coach or cutman rather than the boxer.
For almost everyone training regularly, a set of elasticated cotton wraps hits the right balance of support, comfort, and price.
Wrap Length Explained: 120″, 180″, 3m, or 5m?
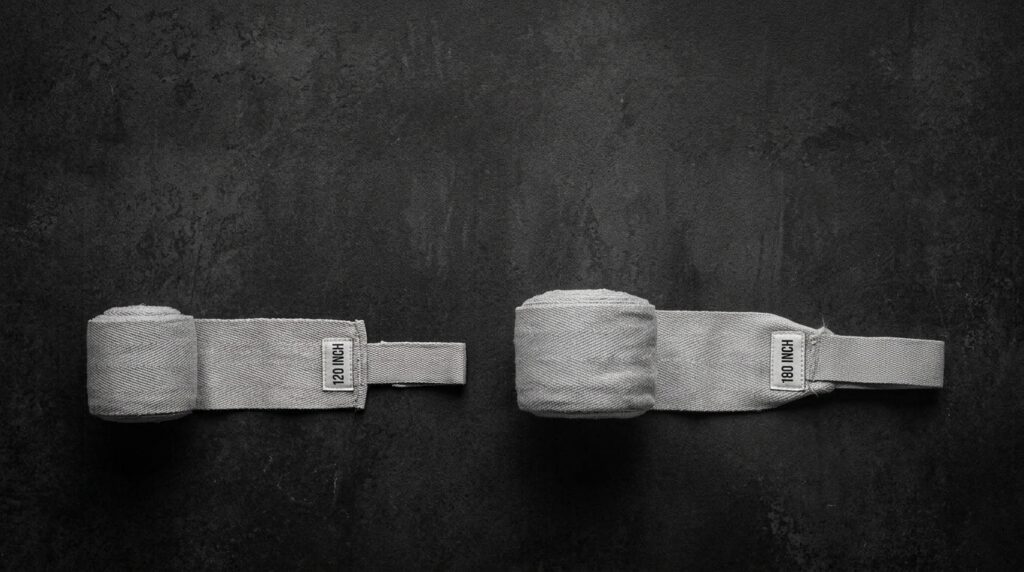
This is one of the most common points of confusion, especially since American brands list wraps in inches and many international brands list them in meters. Here’s how they actually line up:
| Length (inches) | Approx. metric | Best for |
|---|---|---|
| 108″–120″ | ~3 meters | Smaller hands, teens, minimalist wrapping |
| 180″ | ~4.5–5 meters | Most adults, regular bag work and sparring |
So if you’ve been searching for “how to wrap your hands for boxing 3m” or “5m”, you’re really asking about the metric equivalents of the standard 120-inch and 180-inch wraps. The technique itself doesn’t change between the two; a shorter wrap just means fewer passes over the knuckles, so you’ll skip one of the padding loops described below.
A practical rule: if you have smaller hands, are wrapping for lighter training, or find 180-inch wraps too bulky inside your gloves, go with the shorter option. For most adults doing regular bag work, pad work, or sparring, 180-inch wraps are the safer, more versatile default.
How to Wrap Your Hands for Boxing: Step-by-Step
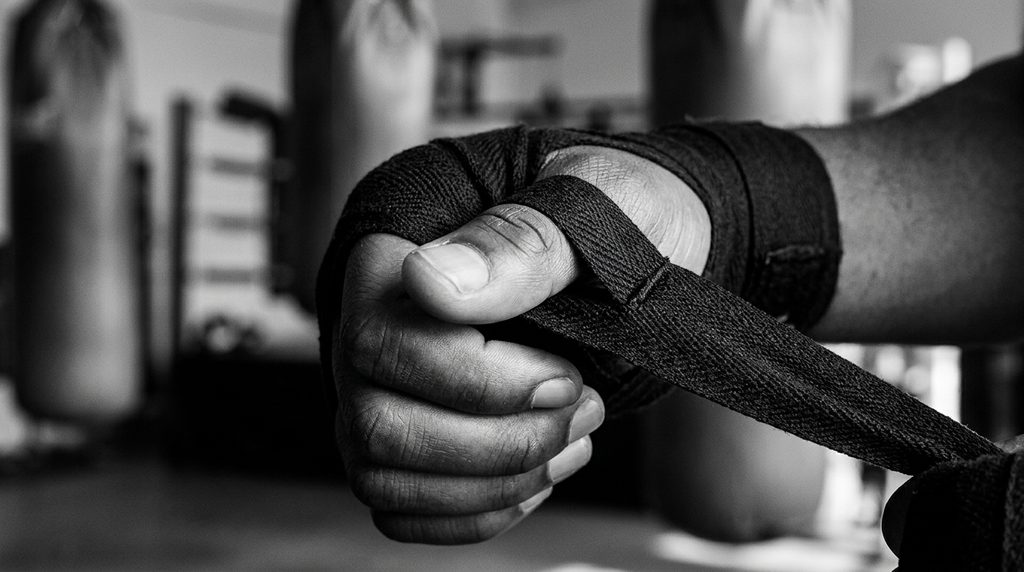
This is the standard method used in boxing gyms worldwide, and it works with both cotton and elasticated wraps.
- Lay the wrap out flat. Find the thumb loop at one end and the Velcro closure at the other. Make sure the smooth side faces your skin, with any printed logo facing outward.
- Slide your thumb through the loop. Let the wrap rest across the back of your hand, with the Velcro end pointing toward your wrist.
- Wrap the wrist first. Bring the fabric down to your wrist and wrap around it 2–3 times, keeping each pass snug and flat, just above the wrist bone. This is your foundation; a stable wrist prevents most sprains.
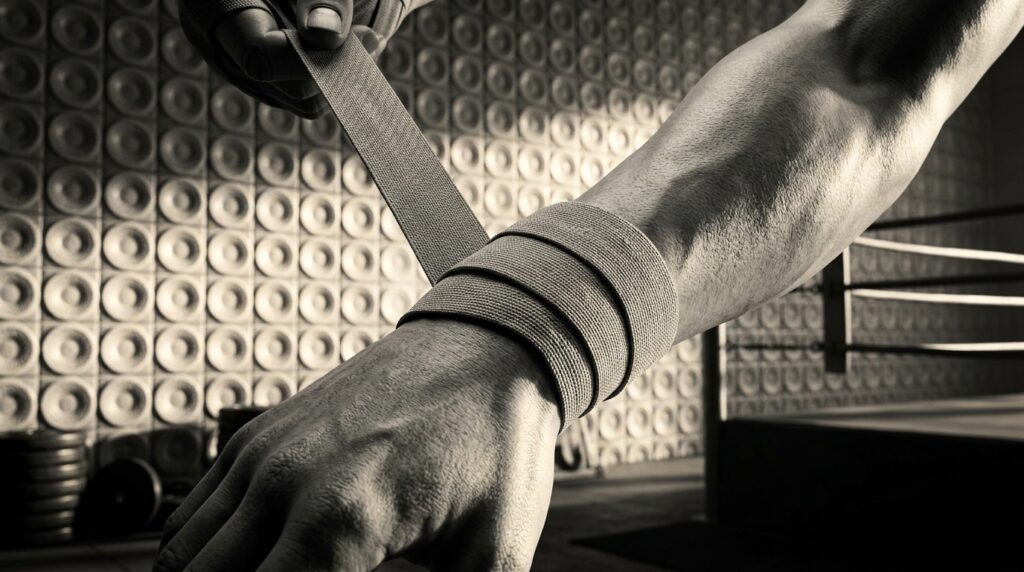
- Cross over the back of the hand. Bring the wrap diagonally across the back of your hand toward your knuckles.
- Wrap the knuckles. Loop across your knuckle line 3–4 times, building up padding evenly. Keep your hand relaxed, not clenched, while doing this so you don’t over-tighten.
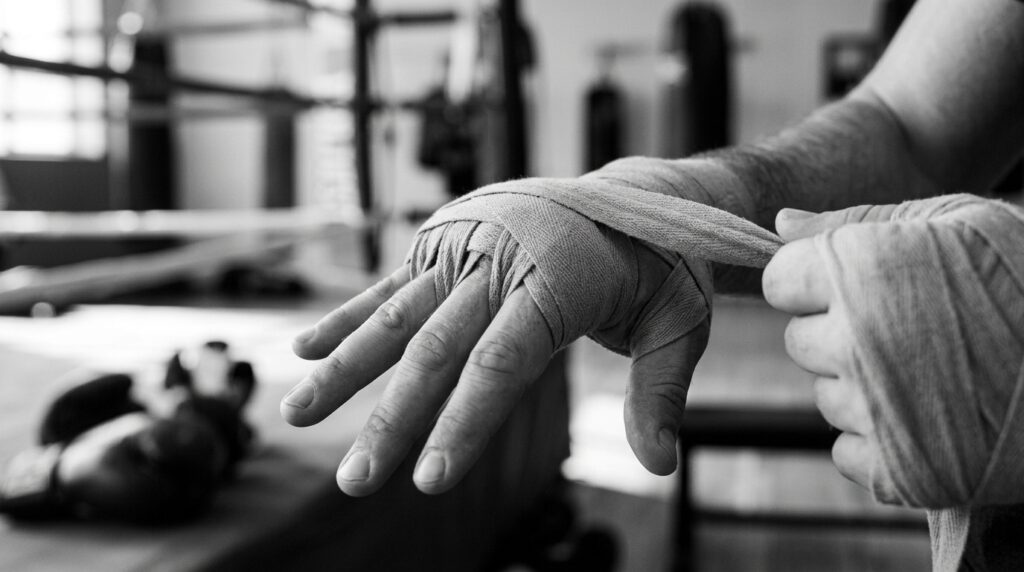
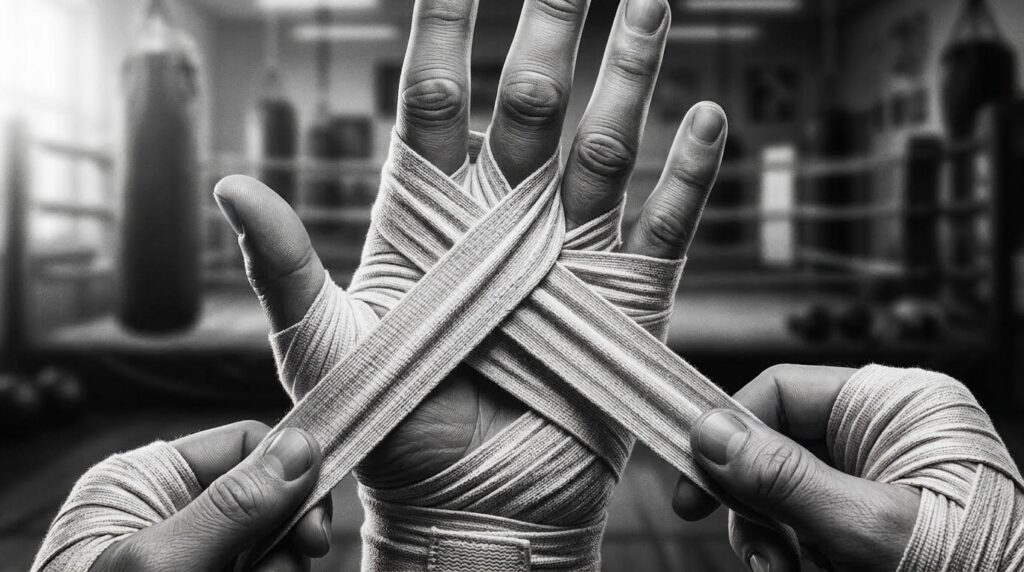
- Add finger passes (“X” passes). Weave the wrap between your fingers, crossing over the back of the hand, to anchor the knuckle padding in place and stop it from sliding during punches. This step is the one beginners skip most often, and it’s the reason padding shifts mid-round.
- Secure the thumb. Loop the wrap once around your thumb for extra stability, especially important if you throw a lot of hooks.
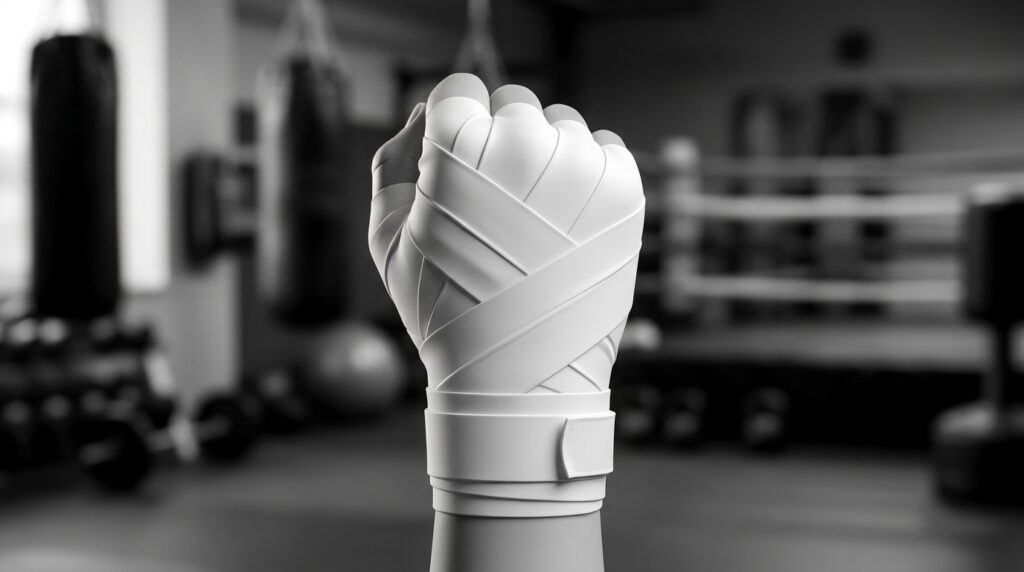
- Finish at the wrist. Wrap any remaining material back around the wrist and fasten the Velcro closure firmly, making sure it lies flat against your skin, not on top of a bump or seam.
- Test the fit. Open and close your hand fully, then make a tight fist and hold it for five seconds. If your fingers tingle, go numb, or change color, the wrap is too tight; unwrap and start again.
How to Wrap Your Hands for Boxing With Small Wraps
If you’re working with shorter wraps (108″–120″, often labeled as kids’ or compact wraps), follow the same sequence above, but reduce the knuckle passes from 3–4 down to 2, and skip one of the wrist loops if material starts running short before you reach the thumb. Prioritize the wrist wraps and the finger “X” passes over extra knuckle bulk; those two elements do the most to prevent injury, even with limited fabric.
How to Wrap Your Hands for Boxing Professionally
Professional or competition wraps work differently. Rather than a reusable strip of fabric, boxers under sanctioned rules use a fixed length of gauze, followed by tape, applied under strict regulatory limits (commissions specify the exact amount of each material allowed, to keep the playing field even between opponents). This version is applied by a coach or cutman before official weigh-ins or fights, and it isn’t something you’ll be doing solo at home. If you’re training for fitness or sparring at your gym, standard 180-inch elasticated wraps will serve you far better day-to-day than trying to replicate competition wrapping.
Common Mistakes to Avoid
- Wrapping too tight. Numb or tingling fingers mean your circulation is cut off, not that you’re “protected.” Loosen it immediately.
- Skipping the finger passes. Without them, your knuckle padding bunches up or slides during the session, leaving parts of your hand unprotected.
- Reusing a wrap that’s lost its stretch. Elasticated wraps wear out. If yours no longer snaps back into shape, it’s time to replace it.
- Wrapping with sweaty or wet hands. This causes the wrap to loosen mid-session; always start with clean, dry hands.
- Choosing the wrong length for your training. Bag work and sparring call for full 180-inch wraps; don’t rely on short or gel wraps for anything beyond light technical drills.
A Small Habit That Protects a Big Investment
Learning how to wrap your hands for boxing properly takes less than two minutes once it becomes routine, and it’s one of the cheapest ways to protect a part of your body you genuinely can’t afford to injure. Get the wrist secure, get the knuckles padded evenly, lock it all in place with finger passes, and test the fit before you throw a single punch.
Once your hands are wrapped correctly, the next thing worth getting right is what goes over them. If you haven’t settled on a pair yet, our guide to the best boxing gloves for beginners walks through sizing, weight, and which gloves actually work well with a proper wrap underneath.